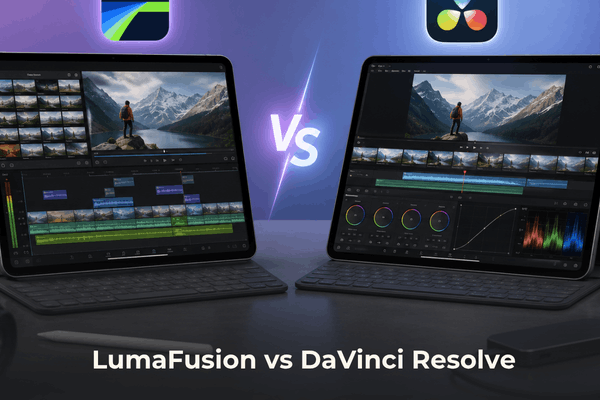

LumaFusion vs DaVinci Resolve on iPad? Discover which video editor suits your workflow based on rendering speed, color grading, and export performance.
The iPad has officially evolved from a simple media-consumption tablet into a mobile creative powerhouse. With the introduction of desktop-class chips, rendering high-resolution timelines on the go is no longer a dream—it is a daily reality. However, having immense hardware power means nothing without the right software to back it up.
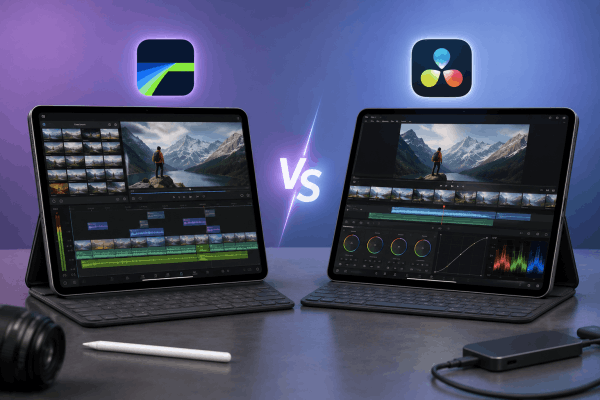
If you are serious about mobile filmmaking, social media creation, or daily vlogging, you have likely arrived at a crossroads choosing between two titans: LumaFusion vs DaVinci Resolve.
One is a beloved pioneer, built from the ground up specifically for a touch-first experience. The other is a direct port of a legendary Hollywood desktop application, bringing unparalleled post-production power straight to your backpack.
Which one should you invest your time and money into? Let’s break down the real-world performance, usability, and hidden quirks of both apps to help you choose the perfect fit for your mobile editing workflow.
CONTENTS:
- I. The fundamental difference: Native mobile vs. desktop port
- II. Timeline management and cutting workflow
- III. Color grading and audio post-production
- IV. Performance, RAM bottlenecks, and export stability
- V. Practical tips for a smooth iPad video editing workflow
- VI. Frequently asked questions about LumaFusion vs DaVinci Resolve
I. The fundamental difference: Native mobile vs. desktop port
Before diving into the timeline and color wheel metrics, it is vital to understand the design philosophies behind both pieces of software.
1. LumaFusion: The touch-first pioneer
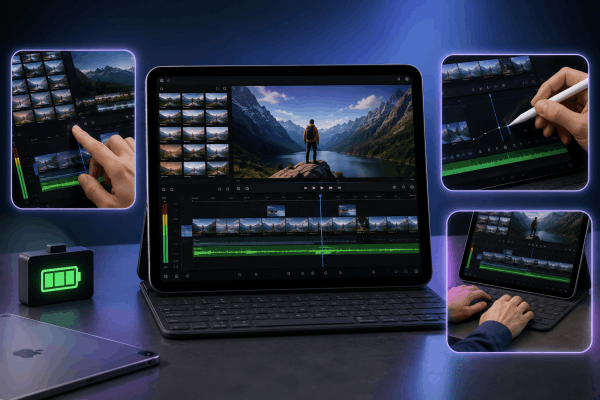
LumaFusion was engineered from day one exclusively for mobile screens. Its interface feels incredibly natural whether you are tapping with your index finger, drawing with an Apple Pencil, or utilizing a Magic Keyboard. It respects the hardware boundaries of the tablet, maintaining low battery consumption and stable performance even on older or base-model tablets.
2. DaVinci Resolve: The Hollywood powerhouse
DaVinci Resolve is essentially a 1:1 port of its famous desktop counterpart. Instead of watering down the experience for a mobile device, the developers opted to bring the actual desktop code to the tablet ecosystem. While it supports touch gestures, it heavily relies on precise inputs, making it far more comfortable to use when paired with an external mouse, keyboard, or dedicated editing panel.
II. Timeline management and cutting workflow
When you are cutting a video, timeline efficiency is everything. This is where the practical differences between a touch-native application and a traditional desktop setup become highly noticeable.
1. Layer structure and track limits
-
LumaFusion offers a structured, magnetic timeline supporting up to 6 video/audio tracks and 6 additional audio tracks. Tracks stick together naturally, preventing accidental gaps in your edit—a behavior highly optimized for quick social media cutdowns.
-
DaVinci Resolve utilizes its classic Cut page and Edit page layouts. It behaves like a traditional desktop non-linear editor (NLE). Tracks are infinite, giving you total freedom to stack clips, b-roll, adjustment layers, and audio tracks as high as your project demands.

A major point of friction for long-time editors moving to mobile workflows is how asset trimming is handled. Experienced editors often miss the traditional In/Out points on the timeline when using LumaFusion. While LumaFusion lets you set In/Out points in the source media browser before dragging a clip down, it lacks standard three-point editing shortcuts directly on the main timeline.
Conversely, DaVinci Resolve brings its robust, industry-standard three-point editing system directly to the tablet, allowing for rapid, precise, frame-accurate cutting.
III. Color grading and audio post-production
If your creative workflow requires heavy stylistic color changes or extensive audio cleanup, the scales tip dramatically in one direction.
1. Color grading: Sliders vs. Nodes
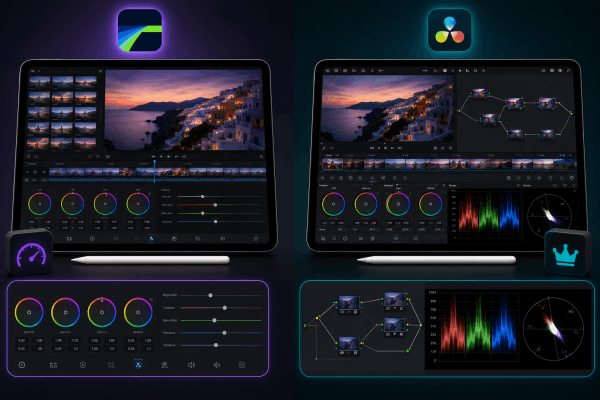
LumaFusion provides a highly functional color tab equipped with basic wheels, sliders, and support for importing custom LUTs. For quick color corrections, fixing white balance, or applying a stylized look to drone footage, it gets the job done cleanly without a steep learning curve.
However, DaVinci Resolve is the undisputed global king of color grading. The iPad version includes the exact same node-based color engine found in Hollywood studios. You gain access to advanced features like Power Windows, Tracker nodes, and the AI-driven Magic Mask (available in the Studio version). If you shoot in LOG profiles or need to match multiple camera angles seamlessly, LumaFusion simply cannot compete with Resolve’s advanced color wheel precision.
2. Audio control: Fairlight integration
For audio, LumaFusion relies on a straightforward mixer and supports third-party AUv3 audio plugins. It is highly capable for standard voiceovers and background music adjustments.
Resolve brings the Fairlight audio page architecture along with it. It features incredibly powerful built-in AI tools like Voice Isolation, allowing you to instantly strip out harsh environmental background noise from interviews or outdoor recordings with a single toggle.
IV. Performance, RAM bottlenecks, and export stability
This is where theoretical app descriptions clash with real-world user experiences. How do these apps actually perform when pushed to the limit?
The 8GB RAM export trap
If you are operating a base-model iPad (such as an 8GB RAM variant of an Air or Pro model), you need to be cautious with DaVinci Resolve. Real-world user tests indicate that Resolve can struggle or drop frames when exporting long, complex timelines on 8GB RAM hardware.
For instance, trying to export a 4K project longer than 45–50 minutes on an 8GB RAM device frequently triggers memory timeout errors or sudden app crashes midway through rendering. This occurs because Resolve’s desktop-grade code expects heavy hardware allocation. To safely process massive, feature-length projects inside Resolve, a higher-tier tablet featuring 16GB of RAM is strongly recommended.
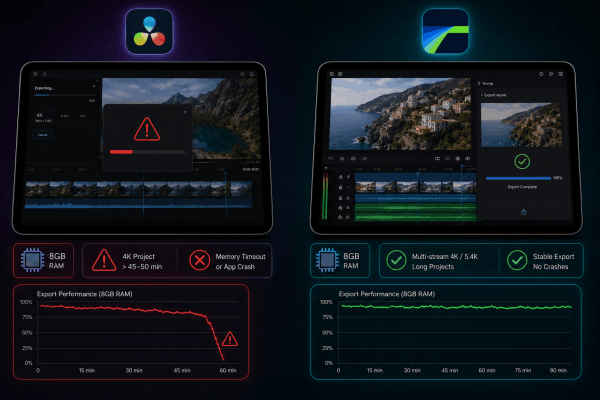
LumaFusion, on the other hand, is an absolute wizard at RAM optimization. It scales down beautifully, allowing users to edit multi-stream 4K and even 5.4K footage flawlessly on older processors without overheating the chassis or crashing during export.
V. Practical tips for a smooth iPad video editing workflow
To make your mobile editing sessions as seamless as possible, implement these highly practical habits gathered from experienced field creators:
-
Embrace the proxy workflow in Resolve: If you are editing on a middle-tier chip, avoid editing raw 10-bit 4K files directly on your main timeline. Generate proxies natively inside Resolve or utilize a synchronized cloud library to edit lightweight files, ensuring butter-smooth playback without timeline stuttering.
-
Keep your projects clean for long exports: If you are hitting rendering errors on an 8GB RAM device, compress your primary background files or pre-render heavy Fusion graphics before executing your final export.
-
The dual-app hybrid method: Many mobile creators find their sweet spot by combining tools. Use LumaFusion for rapid cutting, rough assemblies, and quick social media formatting due to its lightweight touch interface. If the project then requires cinema-grade color passes or complex audio work, export your project XML to finish the heavy lifting inside DaVinci Resolve.
Read More:
- Paperlike vs glass screen protector: Which one should you buy?
- Which iPad case should I buy? A comprehensive review based on personal experience
VI. Frequently asked questions about LumaFusion vs DaVinci Resolve
Is the free version of DaVinci Resolve on iPad enough?
Yes! The free version of DaVinci Resolve for iPad is incredibly generous, offering access to the primary Cut, Edit, Color, and Fairlight features. The paid Studio upgrade is only necessary if you require specific AI features (like Magic Mask or Voice Isolation), advanced noise reduction, or resolutions beyond 4K.
Does LumaFusion require a subscription fee?
No. One of LumaFusion’s greatest selling points is its traditional pricing structure. It requires a straightforward, one-time lifetime purchase from the App Store, though a few advanced features (like Storyblocks integration or FCPX XML export) are offered as optional, one-time in-app purchases.
Can I share project files between my iPad and a desktop?
DaVinci Resolve offers seamless project sharing through its project archive format (.drp) and cloud libraries, allowing you to start editing on an iPad on your couch and finish it seamlessly on a high-end desktop workstation. LumaFusion allows project exports to Final Cut Pro, but moving projects back and forth is a more one-directional process.