
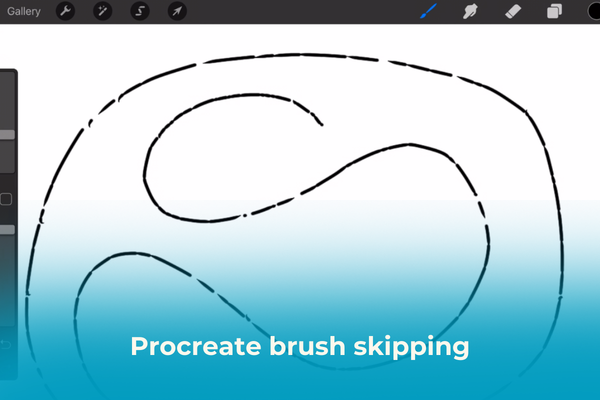

Tired of interrupted lines? Learn why your Procreate brush is skipping and discover proven fixes from other users.
There is nothing more frustrating for a digital artist than being in the “zone,” only to have your Procreate brush skipping across the canvas. One moment you’re shading a masterpiece, and the next, your lines are breaking up, stuttering, or disappearing entirely.
This issue, often referred to as line skipping or brush stuttering, isn’t just a minor annoyance, it disrupts your workflow and ruins precision. While it might feel like your iPad is failing, the culprit is usually something much simpler.

In this guide, we’ll dive deep into the causes of Procreate brush stroking issues and provide a step-by-step troubleshooting path, including some “secret” fixes discovered by the artist community on Reddit.
CONTENTS:
Why is my Procreate brush cutting out?
Before we fix it, we need to understand the “why.” Generally, Procreate line skipping stems from three main areas:
-
Hardware issues: Problems with the Apple Pencil tip or the iPad screen.
-
Software glitches: Settings within Procreate or iPadOS bugs.
-
Environmental factors: Interference that affects pressure sensitivity.
Step-by-step fixes for Procreate brush skipping
Here are some tips help you fix the brush skipping on Procreate:
1. The “quick fix” checklist
Sometimes the solution is embarrassingly simple. Try these first:
-
Tighten the nib: A loose Apple Pencil tip is the #1 cause of intermittent stroking. Ensure it’s screwed on snugly.
-
Charge your Pencil: If your Apple Pencil battery is extremely low, the Bluetooth connection can flicker, causing strokes to cut out.
-
Clean the screen: Oils from your skin or dust particles can create “dead spots.” Use a microfiber cloth and a bit of screen cleaner.
2. Check your Apple Pencil tip
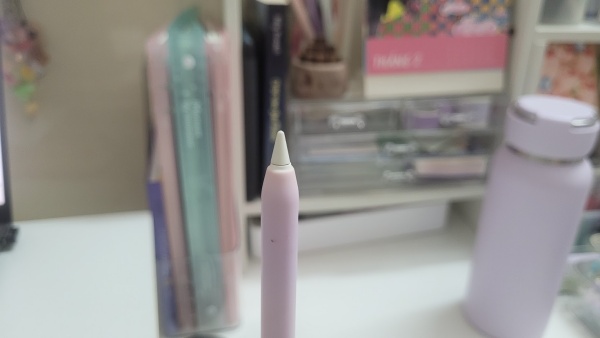
If you’ve been drawing a lot, your nib might be worn down. If the metal sensor inside the plastic tip starts to peek through, it will cause erratic pressure sensitivity problems.
-
The fix: Replace the tip with an official Apple replacement. Third-party tips are cheaper but often lead to jittery lines.
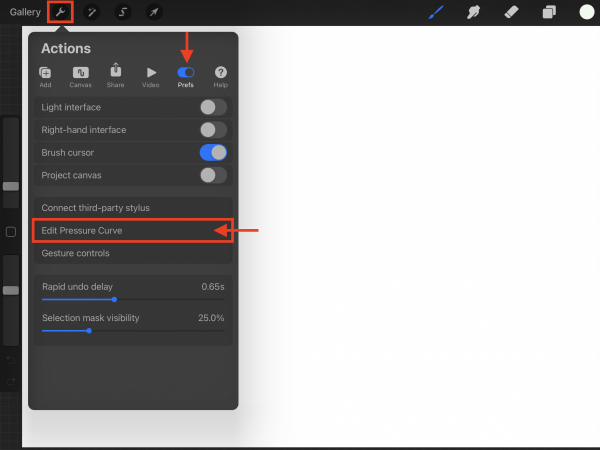
3. Adjust the Procreate pressure curve
If Procreate isn’t registering your light touches, your pressure curve might be too steep.
-
Go to Actions (Wrench icon) => Preferences => Edit Pressure Curve.
-
Try moving the curve upward. A flatter, higher curve makes the app more sensitive to lighter pressure, preventing lines from breaking up.
4. Disable “Palm Support”
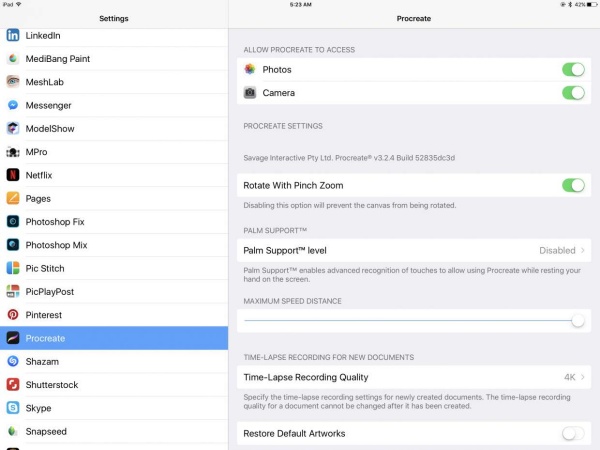
While the iPad has built-in palm rejection, sometimes Procreate’s software version conflicts with it. Reddit users frequently report that turning this off solves the skipping issue instantly.
-
Go to iPad Settings => Procreate => Palm Support Level.
-
Switch it to Disabled. Since the Apple Pencil has its own palm rejection, having both active can cause “input confusion.”
Advanced solutions: deep sives from the community
If the basics didn’t work, these community-vetted tips might be the key to fixing your Procreate brush skipping.
The static electricity fix
Many users on Reddit discovered that static electricity build-up causes the brush to “flicker.”
-
The Symptom: Skipping only happens when the iPad is plugged into a wall charger.
-
The Fix: Unplug your iPad. If the skipping stops, your charger or cable might not be properly grounded, creating “noise” that interferes with the digitizer.
Read More:
- Procreate layer limit: Why it happens and how to fix it
- How to fix missing brush in Procreate with simple steps
Magnetic interference
-
The Symptom: Random “dead zones” on the screen or erratic line behavior regardless of whether the iPad is charging.
-
The Fix: Keep your iPad and Apple Pencil away from strong magnets or highly magnetic objects (such as high-end speakers, certain magnetic iPad cases, or even some laptop hinges). Magnetic fields can disrupt the Pencil’s internal sensors and the iPad’s ability to track the nib accurately.

The “zoom in” glitch
Procreate occasionally struggles with brush rendering when you are zoomed very far out on a massive, high-resolution canvas.
-
The Fix: Try zooming in to 100% or 200%. If the skipping stops, it’s a RAM/processing limitation. Consider reducing the number of layers or canvas size.
Accessibility settings conflict
Hidden iPadOS features can sometimes hijack your touch input.
-
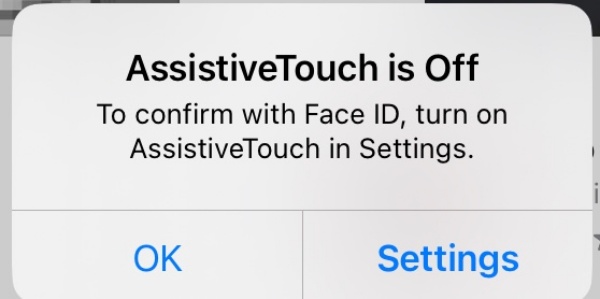
Go to iPad Settings => Accessibility => Touch => AssistiveTouch.
-
Ensure AssistiveTouch is OFF. When ON, it can cause a slight delay or “dead zone” where the Apple Pencil won’t register.
Procreate brush skipping: summary table
| Common Cause | Recommended Fix |
| Loose Nib | Screw the tip clockwise until tight. |
| Worn Tip | Replace with a new Apple Pencil nib. |
| Dirty Screen | Clean with a microfiber cloth to remove skin oils. |
| Charging Interference | Unplug the iPad or use an official Apple charger. |
| Software Conflict | Disable iPadOS “Zoom” or “AssistiveTouch” in Accessibility. |
Q&A: everything else you need to know
Q: Can a screen protector cause brush skipping?
A: Absolutely. Thick tempered glass protectors are notorious for creating a gap between the Pencil and the sensor. If you experience Procreate jittery lines, consider switching to a thinner “paper-like” matte protector.
Q: Is it a Procreate bug or a broken Apple Pencil?
A: To test this, open the native Apple Notes app. If the brush skips there too, it’s a hardware issue (Pencil or iPad screen). If it only happens in Procreate, it’s a software setting or a brush engine glitch.
Q: Does “Streamline” help with skipping?
A: Not exactly. Streamline (under the Stabilization menu) helps with shaky strokes, making them smoother. However, if the line is physically disappearing (skipping), Streamline won’t fix the underlying connection issue.
Q: My lines only skip at the edges of the screen. Why?
A: This is often due to magnetic interference from iPad cases with magnets. Try removing the iPad from its magnetic folio/case and see if the skipping persists.
Conclusion
Fixing a Procreate brush skipping issue is usually a process of elimination. Start with the hardware – tighten that tip and clean that screen, before diving into the pressure curve and palm support settings.
By following these steps, you’ll spend less time troubleshooting and more time creating.